Broadcasting, Live Streaming by Industry, Live Streaming Hardware, Church + House of Worship, How To Live Stream
BoxCast Team • October 31, 2022
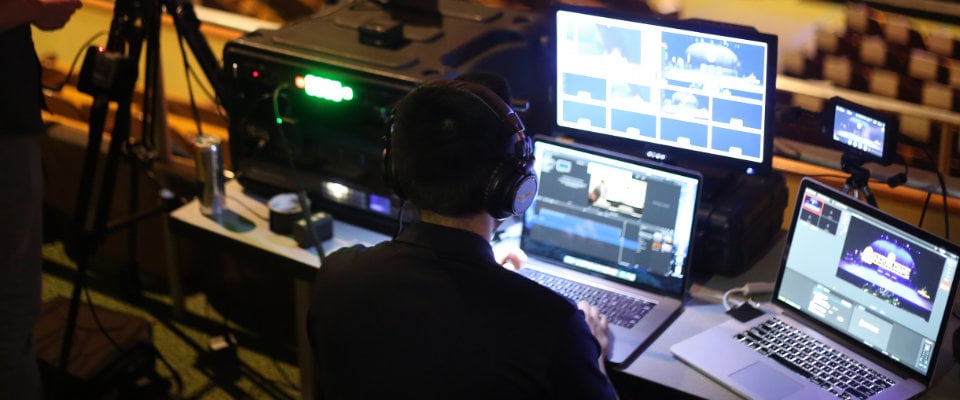
Multi-camera streaming will take your video productions to the next level. Broadcasting with multiple cameras makes your live stream a more immersive and tangible experience for viewers, and allows you to pull off some more artistic camera shots than a static camera setup would allow. This comprehensive guide will show you how to get started with multi-cam streaming and make your viewers fall in love with your broadcasts even more.
Prefer to watch and listen instead of reading? Take a deep dive into multi-cam live streaming with our personable in-house experts.
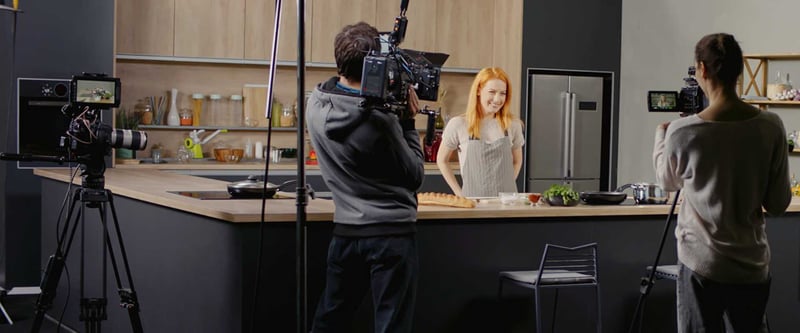
Multi-cam is exactly what it sounds like: multiple cameras. This means a video production uses two or more cameras or video feeds and cuts back and forth between them throughout the duration of the video. Often these feeds show different camera angles or display graphical information that make the video more interesting for viewers than a static, unmoving shot from a single camera would.
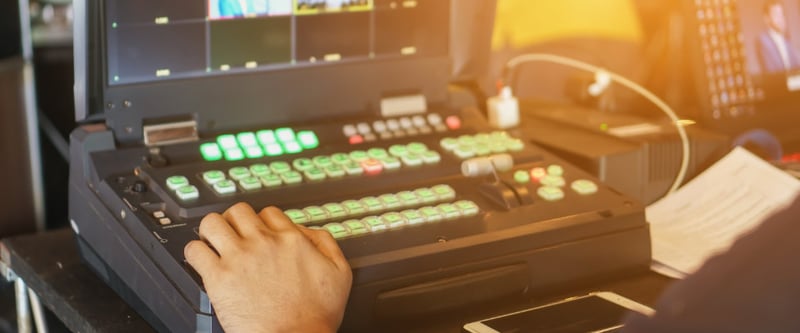
A video switcher is the foundation of a multi-cam setup. It’s a piece of hardware that allows you to cut or switch between different video feeds during your production. It takes in multiple signals from various sources, like cameras, PowerPoints, prerecorded videos, and images, to name a few. The switcher then directs these signals to a single output, such as a monitor, TV, or live stream feed, so viewers can see the final video as it switches back and forth from these sources.
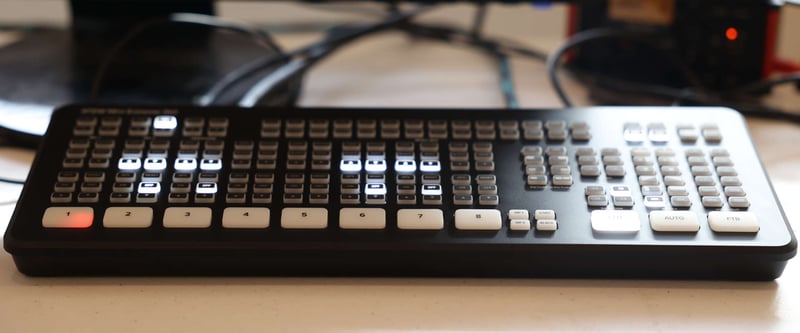
In short, if you’re using a switcher, you’re basically a live stream video DJ. Record scratch, freeze frame: Yup, you heard that right. Check out this video and detailed breakdown of video switchers for more.
Note: In addition to hardware switchers, software switchers exist, too. These let you switch between video sources all within your computer. You need a powerful computer and video capture card to use one. While we do think this software switcher is great at what it does, we often recommend hardware switchers because they’re more reliable, easier to control, and don’t overload your computer.
Great question! You’ll need to consider a few things before purchasing a video switcher. How many cameras and additional video feeds are in your production? Does your computer have a lot of RAM, and can it take doing many hardware-intensive things at once? What’s your budget?
Get more context and dig into our breakdown of live streaming video switchers for beginners to get our best recommendations.
Setting up your workflow for multi-cam video can seem like an enormous task. You have all these cameras — how should you connect them to your equipment? And if you’re live streaming, this adds an additional layer of complexity — what encoder or recorder do you need, and how does that fit into your setup?
Worry no more, friend. We get asked questions about this a lot, so we created a multi-cam workflow for live video streaming. This diagram shows what equipment you need, which cables to connect them with, and where your hardware fits into your production so you have a guide to work from as you build out your own live streaming setup.
As your workflow takes shape, you’ll also want to think about camera placement. Speaking of…
You have multiple cameras. Where should you place them? What are the best angles and shots for your live stream? While there are many types of Hollywood-style camera shots you can use, you probably won’t need that many for live streaming. We recommend five types of shots for streaming events.
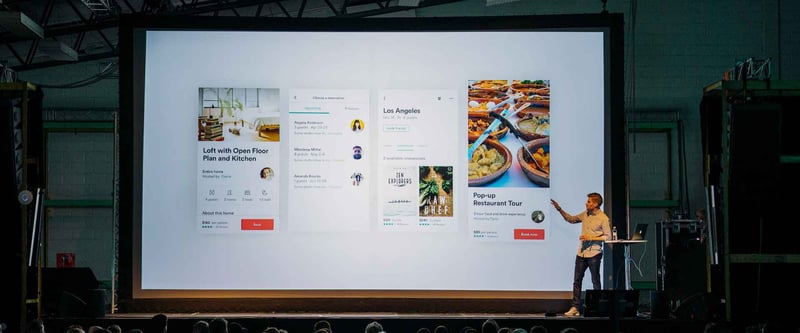
The wide shot establishes your environment and gives viewers a sense of where they are and what they’re watching. It’s also really useful to cut to a wide shot if something goes wrong during the event. A wide shot isn’t focused on any single person or group, so if someone on-screen or in the audience goofs off, does something inappropriate, or has an emergency, it’s difficult for viewers to notice.
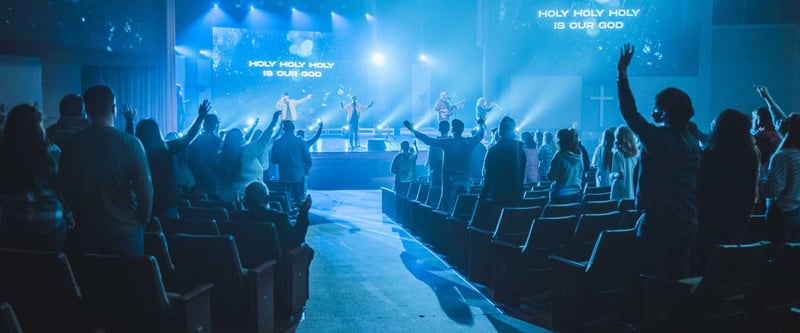
This variation on a wide shot displays the crowd in attendance and can feature the backdrop of your subjects more than a standard wide shot can. This is useful if you have a full, active crowd because you can show emotion and energy from the people attending the event. It’s also great if you have a background or environment that’s particularly eye-catching and you want to show it off.
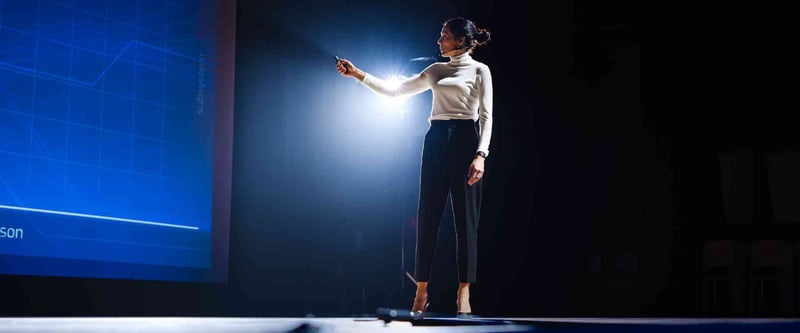
A medium shot shows the subject in full length, from head to toe. It gets closer to the action while still delivering enough context about the environment the subject is interacting with. There are several more specific types of medium shots, but in general, all of them are important for lead room if your subjects are moving around, like in sporting events, concerts, and graduation ceremonies.

There are multiple types of close-up shots in the film industry. We’ll focus on just one here, because it applies to many different types of live broadcasts. This close-up shot shows the emotion and passion on a speaker’s face and makes viewers at home really feel like part of the experience. A well-executed close-up shot for a live stream also gives adequate head room and doesn’t zoom in too far on a subject’s face.

Consider this a “bonus shot” if you can get it. If there’s no crowd present, that’s okay! Shots 1–4 above will still make your broadcast look great. See below for more tips on how to be strategic about shot placement of crowds. A crowd shot shows the audience members’ reactions and delivers a more interesting view because it’s from a different perspective than the rest of your angles. If you have people in the crowd laughing, crying, or emoting in a strong way, this shot takes your broadcast up to a new level.
Once you’ve figured out the shots you’re going to use in your broadcast, it’s important to frame them correctly to fit your subjects.
For instance, a speaker at a conference or a minister in a house of worship might not stand completely still — they’ll probably walk around a stage. Athletes in sporting events are often turning around and changing directions. Musicians and performers might interact with a crowd. Or there might not be a crowd at all. So how do you set yourself up for success with all of these variables during a live broadcast? Use these tips:
The first and most important framing tip you should keep in mind: Always make the experience better than if someone was attending the event in person. This requires you to stay alert and always focus on the major action happening — whether it was planned or not for the live event. For example, a regular wedding attendee sitting in the back of a church wouldn’t be able to see a close-up of the exchange of rings onstage. But by watching a live stream, they can.

A concert-goer can’t see a musician play individual keys from their nose-bleed seats — but by watching a live stream, they can. Always focus on the important part of the action happening, and make sure the framing of your shots gets as close to that action as possible. This makes a live broadcast immersive, engaging, and truly makes people part of the experience.

Head room is somewhat self explanatory. Make sure you give enough comfortable space between the subject's head and the top of the frame. Don’t cut off someone’s forehead and don’t leave extreme amounts of empty space above them. While those stylistically could work in a movie, for a live streamed event, you generally want the subject’s torso to be visible all the way up to a few inches above their head.
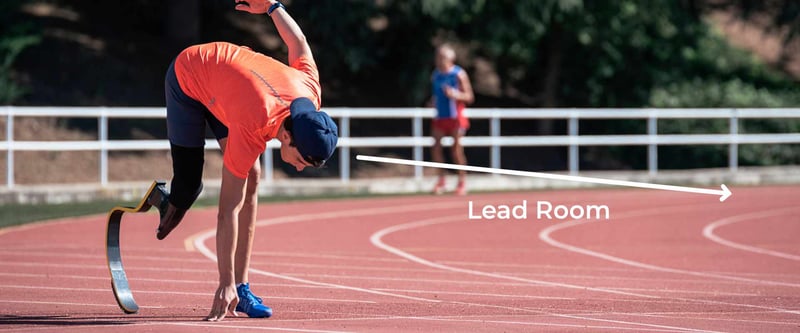
Lead room is a framing technique that gives space for the direction in which a subject is looking, pointing, or moving. For example, if a speaker is looking to the right side of the frame, give some extra space on the right side. If an athlete is running to the left side of the frame, move the camera so there’s adequate empty space on the left. This keeps your shot composition looking pleasant and makes it comfortable to watch the person onscreen.
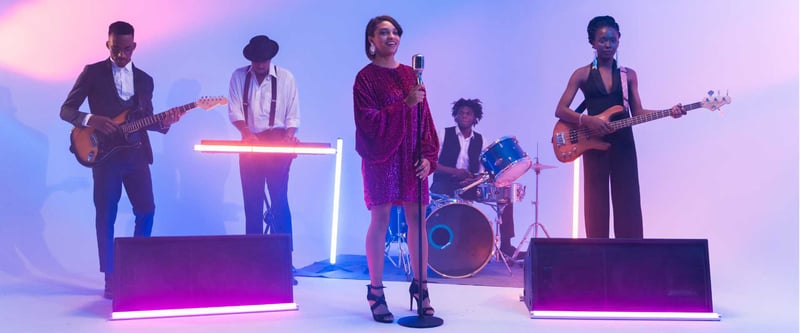
If your event doesn’t have an in-person audience — or if the crowd isn’t so much a crowd as it is a few sparsely populated seats, you probably shouldn’t cut to a crowd shot. This makes it look like your event isn’t interesting and that people don’t care about it.
Instead, place your cameras onstage and focus on the action happening there. Get closer to the performers’ eye level and their emotions. This immerses your viewers much more than a wide shot could.
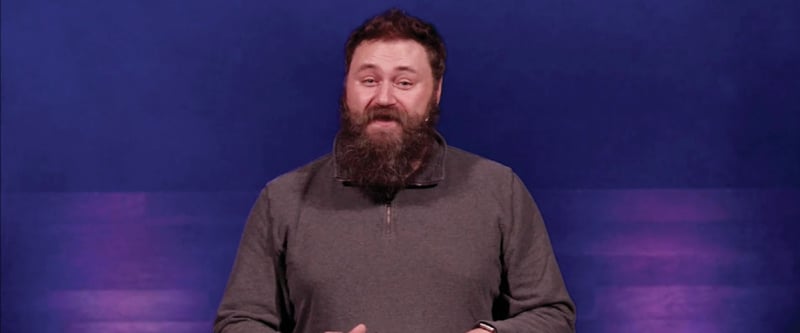
Have your speaker look at the cameras directly — by addressing the audience watching at home, they’ll feel more connected to the person onscreen and pay closer attention to what they’re saying. Eye contact is a subtle but powerful way to engage viewers.
Yes. We recommend a hardware video switcher for cutting between cameras on a live stream. This reduces the load on your computer and omits the need for a capture card. Using a switcher like the Blackmagic ATEM Mini Pro, you can broadcast directly from the device itself to a streaming service like BoxCast.
No, not necessarily. If you have one camera or single source of video for your live stream, you don’t need a video switcher to go live. However, if you want to create an immersive stream experience with multiple cameras and cut between different shots, you’ll need a video switcher.
Maybe. To live stream, make sure your camera has a clean HDMI output. That means there are no on-screen indicators or other data (like a battery percentage, for example). The easiest way to test this is to plug your camera into a TV. If it’s a clean HDMI output, you’ll see the camera’s view and no other graphic elements onscreen.
There’s a lot more to the world of multi-camera productions and live streaming than we’ve covered here. If you’re looking to level up your streaming skills, or become a better director or producer, check out these guides to expand your knowledge:
© 2025 BoxCast. All Rights Reserved. | +1-888-392-2278