Broadcasting, Live Streaming by Industry, Hybrid Events, How To Live Stream
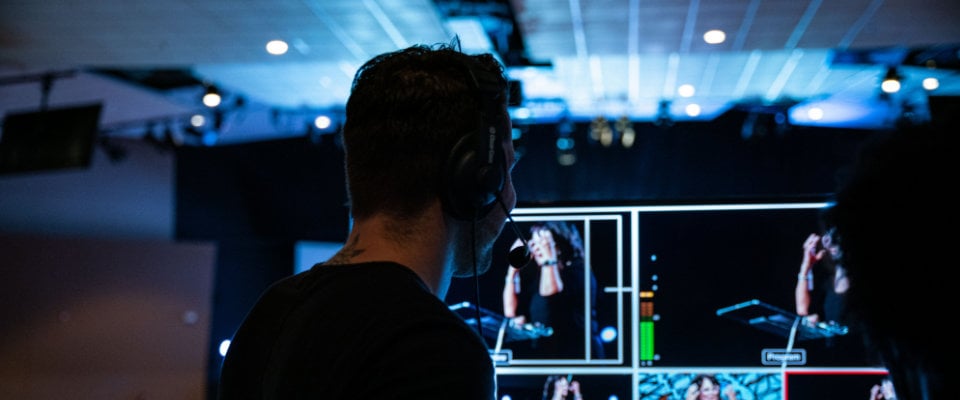
5 Beginner Mistakes Live Streamers Make + How to Avoid Them
BoxCast Team • January 27, 2023
When you’re starting to live stream, it's easy to overlook things that can make your streams look and sound much better. When you’re a one-person crew or on a small team, you may not have all the resources necessary to put on a major production.
Still, it’s important to create something that’s watchable — and listenable. In this post, we break down the five biggest mistakes beginners make (all of which we’ve made ourselves when we were starting out).
Table of Contents
- Video: Avoid These 5 Beginner Live Streaming Mistakes
- 1: Ignoring Audio
- 2: Poor Framing
- 3: Forgetting to Test the Network
- 4: Not Having a Backup Plan
- 5: Overproducing Events
- Frequently Asked Questions
- Final Thoughts + Further Reading
Video: Avoid These 5 Beginner Live Streaming Mistakes
Now on to the details...
1. Ignoring Audio
It’s easy when you’re getting started to focus so much on your video production, you forget about audio quality. One of the biggest mistakes we see live streamers make is ignoring the quality of their audio — whether their audio is too quiet or too hot (which happens more often and is also known as clipping).
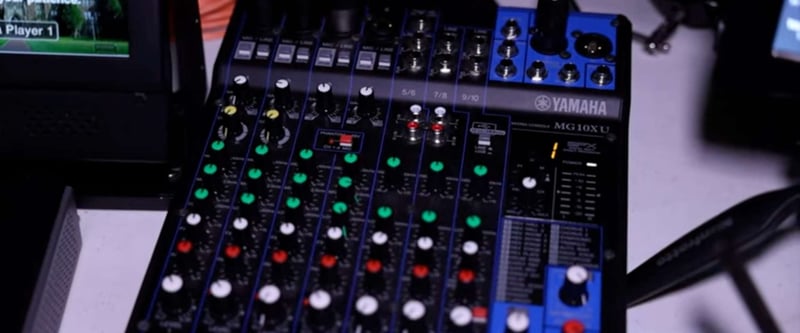
A great way to prevent clipping in your live streams is to give yourself plenty of headroom. Similar to video headroom, audio headroom is the space between your maximum audio signal and what your system can handle. When you run out of it, you hear clipping and distortion.
Pro tip:
When producing events, test your mics, music, and any other audio sources at their program volume to make sure there’s plenty of headroom when you go live.
Oftentimes, we also see beginners forgetting about the built-in microphones on their cameras. This can lead to viewers hearing any chatter occurring near the camera. Be sure to mute your camera's audio output when you’re not relying on it for live stream sound.
The last common audio mistake is using the wrong kind of microphone for the audio you’re capturing. To learn more about which mic you should use for your live stream, check out this video:
2. Poor Framing
Your primary job while live streaming is to bring your audience into the action. Poor framing and weird camera angles can ruin your viewers’ experience. All too often, people place their camera too far away from their subjects, which makes it hard for remote audiences to feel connected to what’s happening live:

Pro tip:
If you have to place your camera far away, consider using a camcorder with plenty of focal length. The Canon Vixia HF G50 is the perfect starter camera, and has a 20x optical zoom that will allow you to get nice and close to the action.

When framing your subjects, also consider headroom and lead room. As a video concept, headroom is the distance between the top of the frame and your subject. You don’t have to overthink or measure this, but make it comfortable.
Example: Good + Bad Head Room

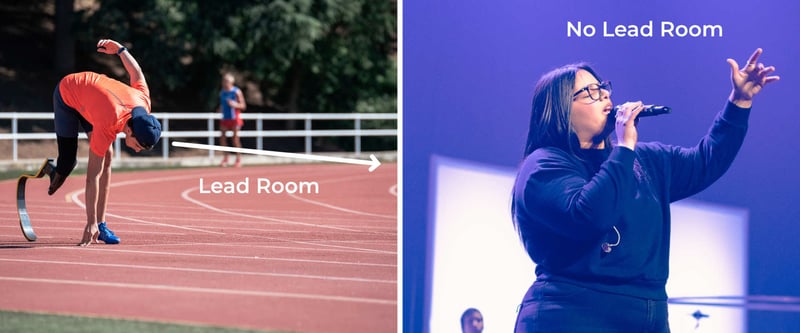
Lead room is giving a generous amount of space to the direction your subject is moving or facing. It’s not a hard-and-fast rule, but it helps both your camera operators and your viewers follow the action.
Example: Good + Bad Lead Room
3. Forgetting to Test the Network
Think of the internet as your live stream’s lifeline. Catchy, right? Seriously though, the last thing you ever want to do is go live with a lousy internet connection.
An all-too-common mistake we see beginners make is forgetting to test their internet connection ahead of time. Before you go live, be sure to thoroughly test your internet and streaming device (be it hardware or software) at the venue where you’ll be streaming.
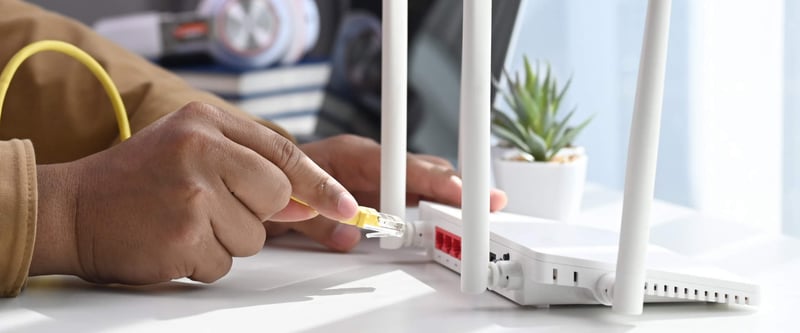
Relying on public Wi-Fi is another common pitfall for new live streamers. Live events often have a large in-person audience. When those people come into the building, they can soak up the precious bandwidth public Wi-Fi connections have, which can result in your stream dropping out or suffering in quality. To avoid this, try to use a hardline internet or private Wi-FI connection whenever possible.
Just like with audio, you can prevent network issues by running a test stream ahead of time. BoxCast’s diagnostics make it super easy to monitor the status of your broadcast, and alert you if your stream runs into issues.
Pro tip:
If you run a speed test and your network is a little slow, you can always lower the bitrate on your encoder to take some stress off the network. Check your internet speed and run a free speed test here.
What Upload Speed Do I Need to Live Stream?
You might be wondering how fast your internet connection needs to be for live streaming. That can change depending on a variety of factors, so check out our handy guide on the minimum upload speeds we like to see for each resolution and frame rate.
Note: If you upgrade your live streams to 60 frames per second, expect to use double the bandwidth.
4. Not Having a Backup Plan
Sometimes, things beyond your control can happen while you’re live streaming. You can’t make up for lost time — or moments. If you experience an internet outage or ISP throttling during your live stream, it’s crucial to have a backup recording of your program. Options include popping an SD card into your camera, recording onto a drive from your video switcher, or even getting a dedicated video recorder.
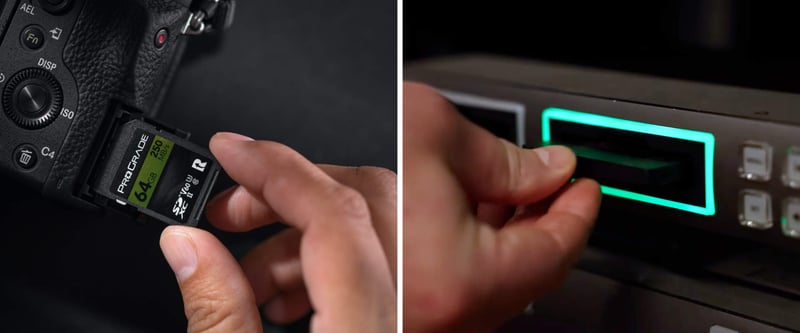
Pro tip:
We love the Blackmagic Video Assist because it works great as a video recorder, a monitor, and even a cross-converter.
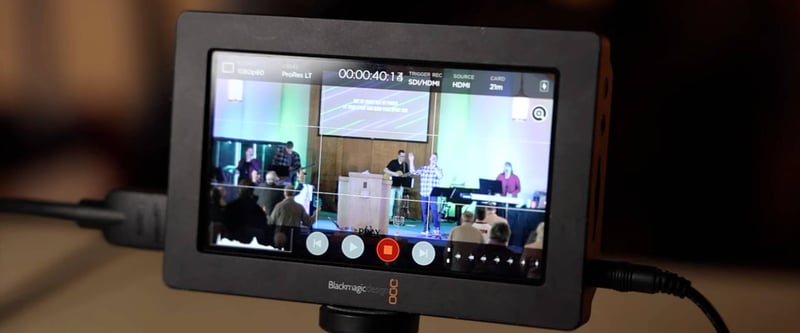
If your stream goes down for any reason or if the quality is a little rough, you can always use BoxCast’s Broadcast Replacement tool to swap out the bad content with your higher-quality recording. This keeps your existing links and embeds intact, and won’t publish it as new content. We do this for all our live streams to ensure we have the highest-quality recording possible available to our viewers.
We’ve also seen live streams get taken down on social media platforms because of copyright infringement — even when broadcasters have a license to stream the content. For this reason, it’s best to send your stream to multiple places.
At BoxCast, we let you stream to multiple destinations at once, including a nice embed on your website, where you won’t have to worry about your content getting taken down for any licensing issues.
5. Overproducing Events
The last common mistake we see beginning live streamers make is trying to overproduce events. When starting out, it’s easy to get excited and try to add as much production value as possible, but you might trip over yourself (maybe even literally!) trying to make that happen.
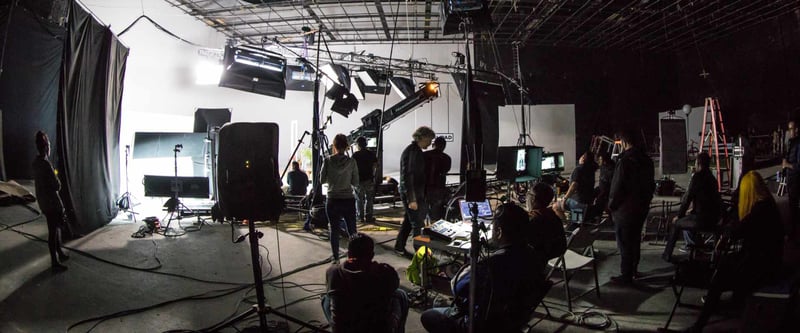
What do we mean by overproducing? It can include adding too many camera angles, throwing in unnecessary special effects, or even going live with brand-new, untested equipment for the first time.
Pro tip:
Before you try to put on a big show, be sure you have the essentials: clean audio, good lighting, attractive framing, and a solid internet connection. From there, you can grow your productions with time and experience!
FAQ
What is lead room for video production?
Lead room is giving a generous amount of space in the frame to the direction your subject is moving or facing.
What is headroom for audio?
Audio headroom is the space between your maximum audio signal and what your system can handle.
How do I back up my live stream?
We recommend always having a local recording option in case something catastrophic happens to your local internet connection during your live stream. You can do this by recording via an SD card on your camera or by purchasing a dedicated video recorder like the Blackmagic Video Assist in between your video switcher and your encoder.
Can I use public Wi-Fi to live stream events?
You certainly can use public Wi-Fi for live streaming events, but you shouldn’t, because it’s typically unreliable. Most public Wi-Fi connections can become highly congested by the number of people attending your events in person. We highly recommend using hardline Ethernet or private Wi-Fi connections whenever possible.
What’s the best starter camera for live streaming events?
It might depend on your budget, but the Canon Vixia HF G50 is a great starter camcorder for live streaming worship services and other hybrid events. With a 20x optical zoom, 4K recording capability, and an impressive image stabilization, the G50 is a perfect first-time camera that can grow with your live productions over time.
Final Thoughts + Further Reading
Remember, when you're just starting out, you may make some mistakes — that's okay! Every new live stream is an opportunity to learn. We've got your back. To up your streaming game and learn even more about broadcasting, check out these articles:
- What Upload Speed Do I Need to Live Stream?
- Should You Use a Paid Live Streaming Service to Make Your Video Better?
- Why You Should Automate a Live Stream — Schedule and Go Live Automatically
- Multistreaming: How to Live Stream to Multiple Destinations at Once
- What is a Multi-Cam Setup? Get the Live Streaming Basics
- The Simple, Single-Cam Setup for Small + Medium Teams
You might also like
© 2025 BoxCast. All Rights Reserved. | +1-888-392-2278

